Have you ever seen those perfect little cake pops at bakeries and thought, “That’s way too complicated for me”? That was exactly my mindset until this Easter, when my aunt showed me just how achievable these adorable treats can be. What started as a family baking lesson turned into a newfound passion—and even sparked some unexpected quality time with my husband!
Sweet Beginnings: My Aunt’s Easter Baking Lesson
Over the Easter holiday, I had my cake pop awakening. What I’d always assumed was a complicated, professional-only treat turned out to be surprisingly approachable. My aunt walked me through the simple steps, and before I knew it, I was practicing my cake pop skills with confidence.
From Practice to Real-World Challenge
When we returned home, I discovered I needed to bring something to an upcoming event. What perfect timing! This was my chance to put my new cake pop skills to the test.
If you’re just starting out and want a fast and easy start, feel free to buy a ready-to-eat cake or cake mix and store-bought frosting. I have loved the flavor of the cupcakes I’ve been making lately and wanted that tasty flavor. I opted to make the full cake pop from scratch. If you feel bold to create some from scratch or just want a tasty cupcake, I recommend these recipes: cupcake recipe, frosting recipe.
The logic was simple: start with a cake and frosting I knew were delicious, then focus my learning curve on the dipping and decorating techniques.
The Sweet Science: Finding the Perfect Ratio
Through research and a bit of AI assistance, I discovered the magic ratio: 3 parts cake to 1 part frosting. Measuring by weight made all the difference—I simply weighed my cake (979g in my case) and calculated how much frosting I needed (about 326g) based on the 3:1 ratio. I added a little extra frosting to taste, but the ratio is what matters, not the exact weights. This approach created the perfect consistency for rolling and dipping, regardless of how much cake you start with.
The Learning Curve: Candy Coating Cautions
I learned the hard way that candy melts require careful heating—accidentally “cooking” them instead of gently melting. Despite this hiccup, I managed to save enough properly melted coating to complete my project. Next time, I’ll try chocolate coating to compare the taste, though I appreciate how forgiving the candy melts were for a beginner.
An Unexpected Baking Partner Emerges
The surprise twist in my cake pop adventure? My husband’s sudden interest in the process! He wanted to try his hand at making them too. His patience and attention to detail quickly showed in his work—his cake pops started looking better than mine! By the end, we were both creating beautiful treats and enjoying unexpected quality time together in the kitchen.
My Tried-and-True Cake Pop Method
If you’re thinking about trying cake pops, here’s my step-by-step process:
- Prep Work Matters: Make your favorite cake and frosting (I used my trusted cupcake and simple frosting recipes)
- Temperature Tips: Remember to bring butter and eggs to room temperature before starting
- Time Management: Consider making the cake and frosting a day ahead to break up the work
- The Perfect Mix: Combine thoroughly cooled, crumbled cake with frosting at a 3:1 ratio
- Shaping Strategy: Use a scoop (I used 2 tbsp) for consistent sizing, then hand-roll for smoothness. Next time I may use a smaller scoop!
- Patience Pays Off: Refrigerate 20-30 minutes, re-roll for perfect spheres, then refrigerate for 90 minutes or freeze for 30 minutes
- Stick Success: Dip sticks in melted coating before inserting into cake balls, then refrigerate for 20-30 minutes or freeze for 10 minutes to secure
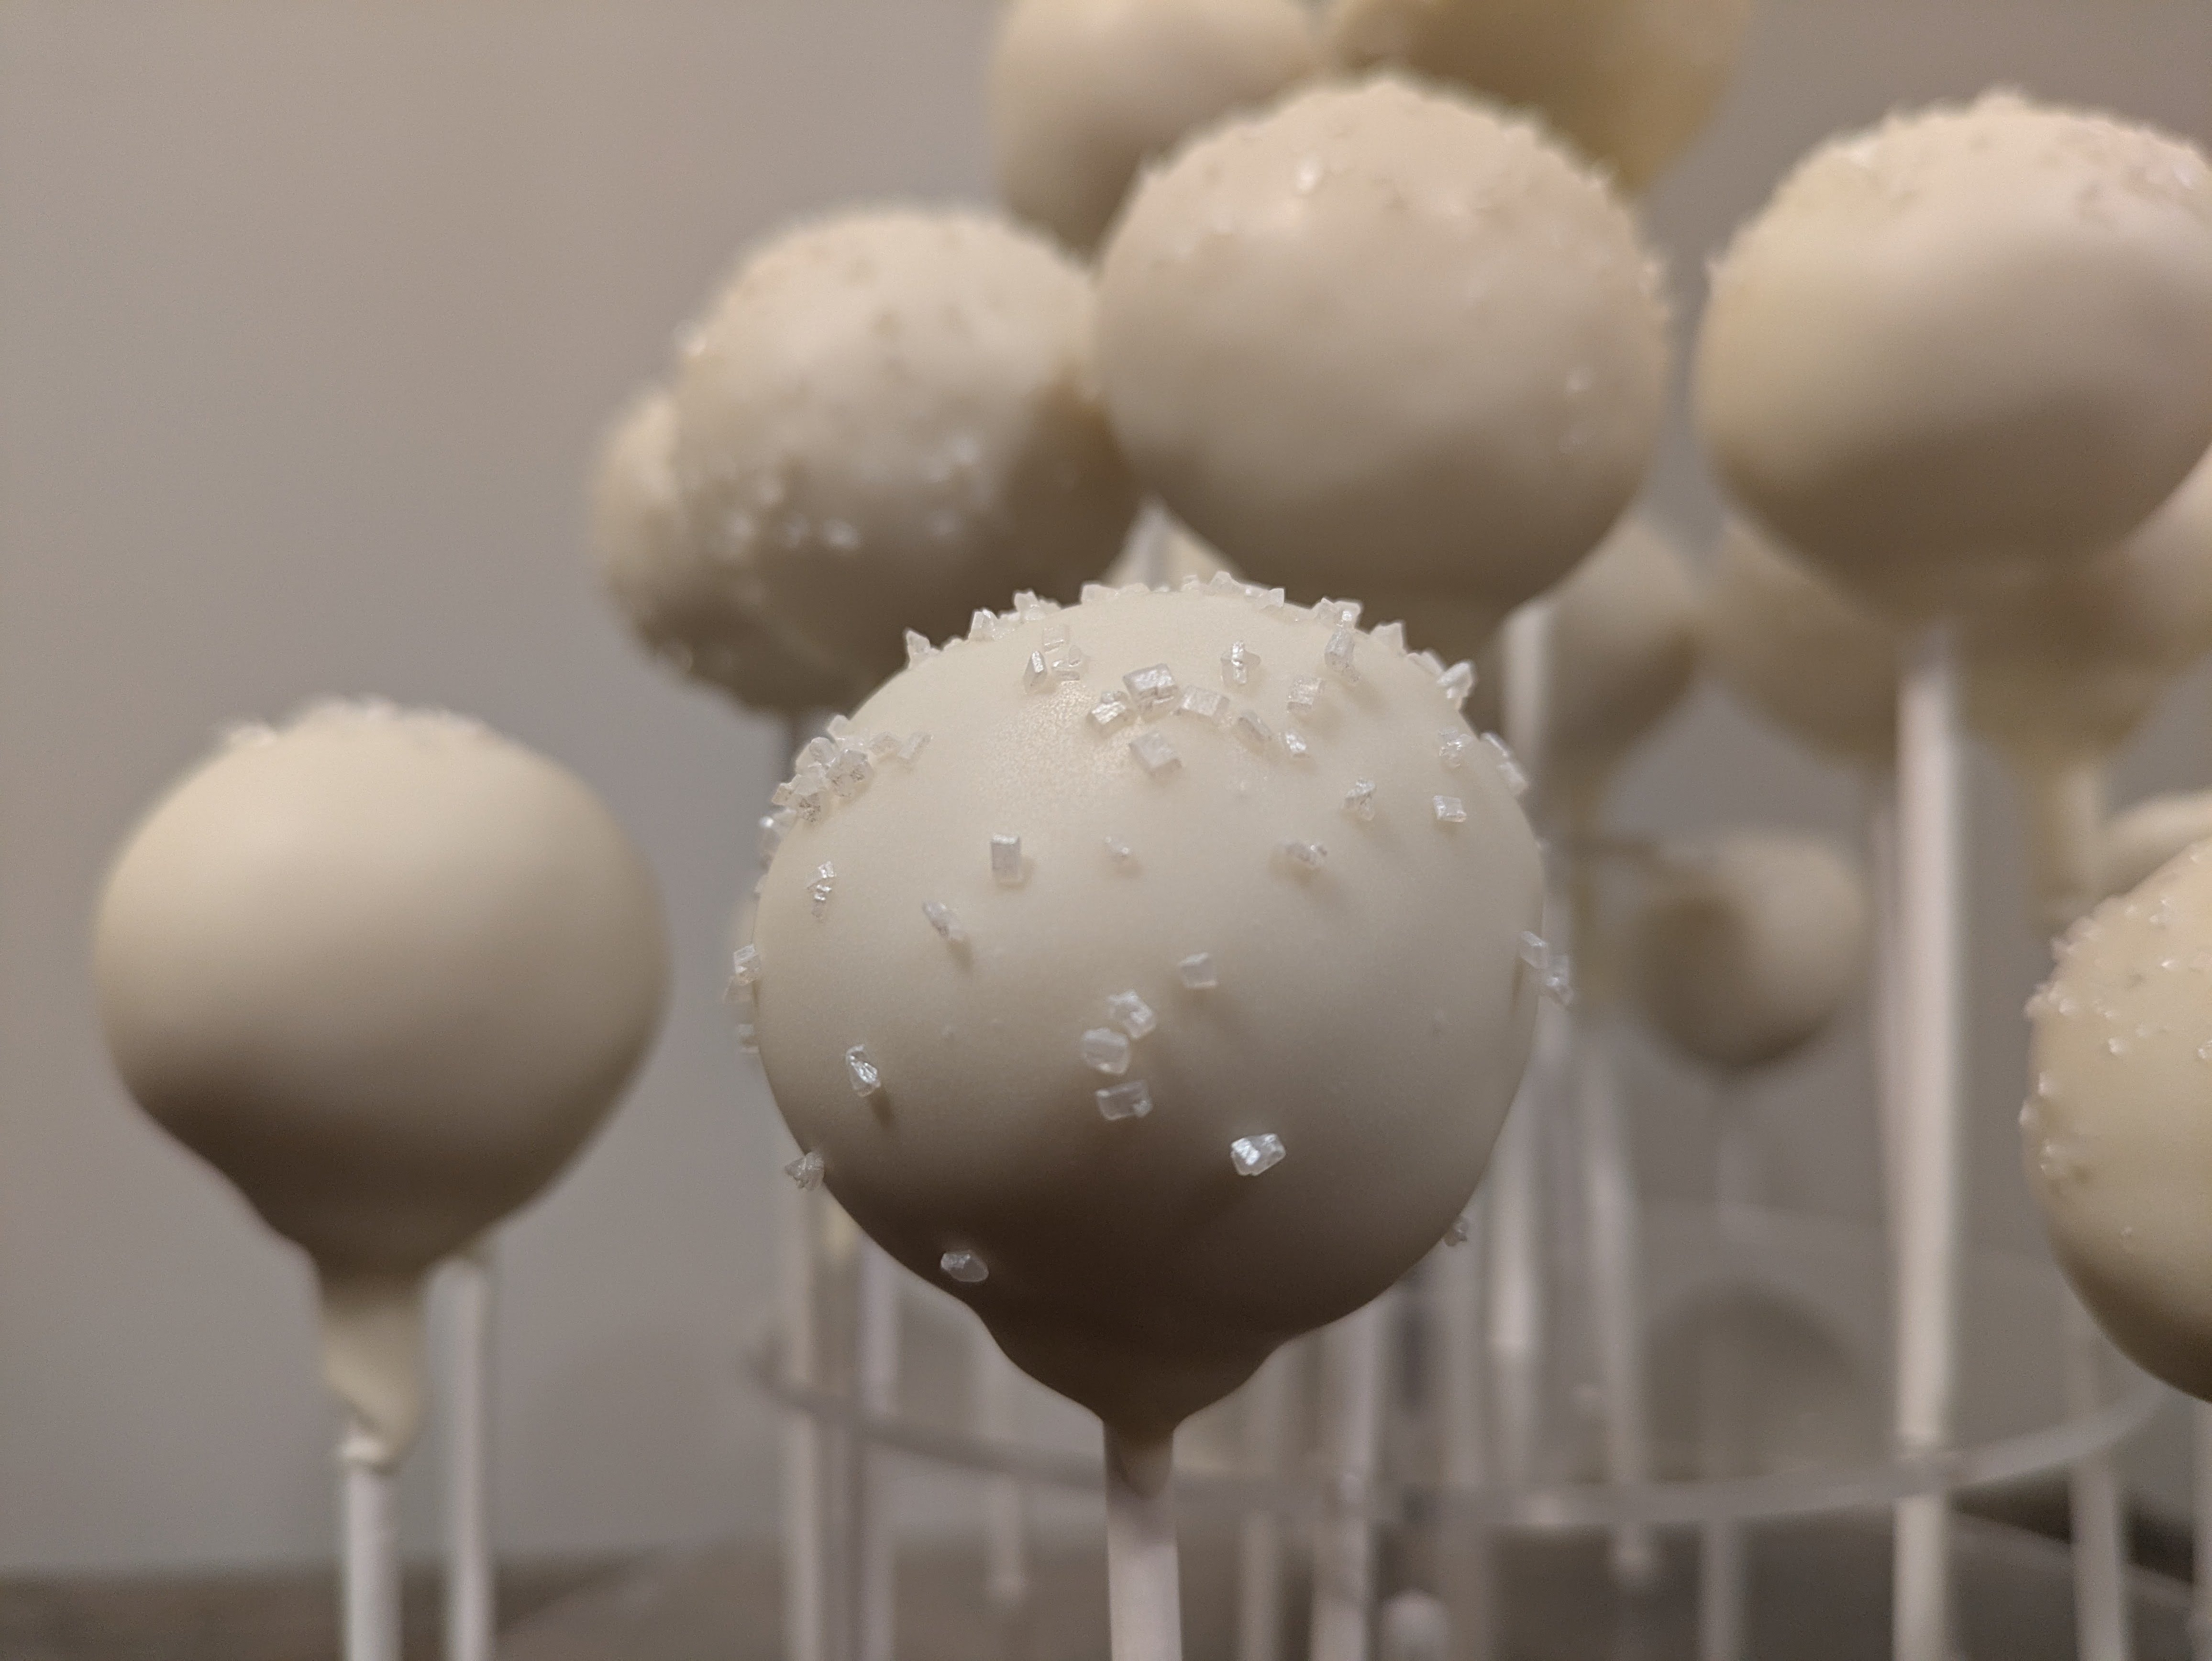
- Dipping Technique: The trickiest part! Dip, rotate patiently until coating begins to set, then add sprinkles
- Display and Transport: Invest in a simple stand for drying and presentation


The Sweet Reward: Unexpected Recognition
When I shared my cake pops at a church women’s gathering, they were such a hit that a rumor started that I was launching a baking business! While that’s far from my plan, the response was incredibly affirming. My cake pops weren’t just passable—they were impressive!
I was pleasantly surprised by how my cake pops turned out, especially as a first-timer. If you’ve been thinking about trying your hand at cake pops, I’d encourage you to give it a try. With a bit of patience and these simple tips, you might find they’re more doable than you expected.
What dessert have you been intimidated to try making? Let me know in the comments!
For more culinary adventures check out my blog.
Leave a Reply